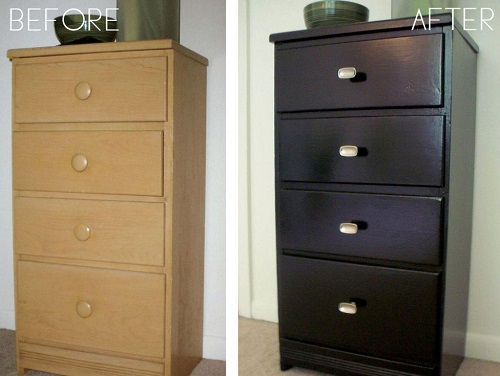
This guide is for people who decided to breathe new life into their old furniture pieces. Though everything is not hard at all, it is important to follow the procedure and not miss out details.

Prepping Phase
1. Area. Before you actually begin painting a dresser make sure to have enough free space for it. Then ensure that you cover everything with newspapers and preferable even plastic to protect from your “professional” skills.
2. Remove everything. This point concerns any pieces of furniture that might be on your way of work. Make sure that you will not hit something or break unexpectedly while painting your dresser or table.
3. Patch the surfaces. If you have a piece of furniture whose surface is not ideal, it is important to fill those gaps and cracks wit special wood filler to ensure that damages will not proceed further. Do not forget about the drying time.
4. Sandpaper the surface. Though many tutorials claim that sandpapering phase is not important and can be avoided, professionals explain that without it the effect of your renovation might not be perfect. Either use sandpaper piece of opt for power sandpapering machine to do the job in case the scope is big enough.
5. Remove residue. Make sure that you remove any residue left after sandpapering process. It is important that you do it with special cloth and not just paper towels or a regular towel! If the surface is wet, let it dry naturally.
Priming and Painting Phase
1. Prime it. If you want to have even surface of your piece of furniture then priming is essential. In case you are willing to preserve wooden structure, you can skip this step.
For priming it is advised to use a roller wherever possible to avoid any air bubbles. In hard-to-reach places and corners, use small brush. Make sure that you let the primer dry naturally before proceeding further.
2. Sand again. After the primed surface has dried out, use softer sandpaper to sand the surface again. In this way you will be able to paint bond to the primer even better than it already does. Do not forget to wipe out all sawdust or residue with special cloth.
3. Paint. When you get to the painting phase, start from using a roller first and finish the panting with a brush.
4. Re-paint. Re-paint everything (cover with another layer of paint) if you want the color to be solid. Today, however, you can see the trend of casual painting and use of colors if check furniture sale at www.kijiji.ca. Depending on the aims you have, choose the required technique for your project. The important point here is to start applying the next layer of paint only after the previous one has dried out completely. Usually it takes between 8-10 hours.
5. Seal the paint. This part is optional though advised. With a layer or two of lacquer you will be able to protect your paint and furniture appearance for a lon